Handmade Thank You Cards
If you're looking for inspiration for handmade thank you cards, you've come to the right place! On this page, DT Member April will give you a step-by-step tutorial on one of her adorable thank you card ideas. Enjoy!
Thank You Card
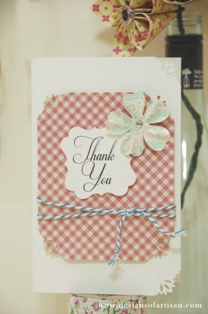 |
Expressing being grateful
has so many ways to do it. One of which is sending a Thank You card. Personally handmade thank you cards would definitely mean so much more. |
Materials:
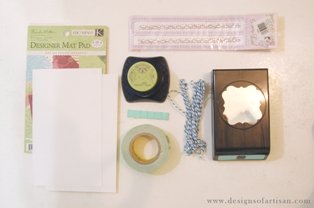
- 4x6 Card
- K&Company Designer Mat Pad
- Fiskar Corner Emboss and Punch
- Fiskar French border puncher
- Baker's Twine
- Rhinestone Sticker
- Flower Embellishment
- Adhesive Foam
- Cutter, Cutting Mat, Scissors, Ruler
How to do it:
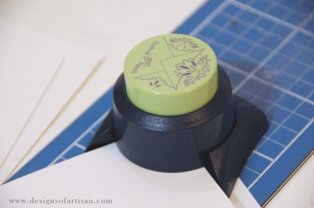
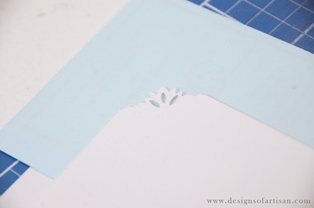
{1} Once you have a blank 4x6in blank card for your base, use Fiskar Emboss/Punch to cut the cover edge of the card.
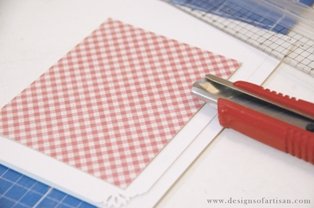
{2} Choose a pattern from K&Company Design Mat pad then measure and cut it based in the middle of the card.
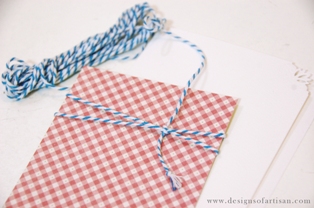
{3} Tie the Baker's twine around the patterned paper. Make sure to choose a contrasting color so it will pop-out from the pattern.
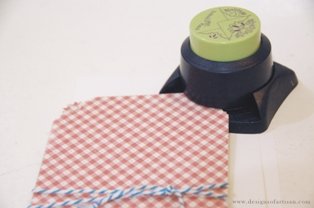
{4} After attaching the twine, cut the edges again using the Fiscar Emboss/Punch on 4-edges of the patterned card. This will match the edge corner of the blank card.
{5} Put adhesive foam/gum at the back. Include the middle part so it will also have a support in the center. Then attached the pattern paper in the middle of the card.
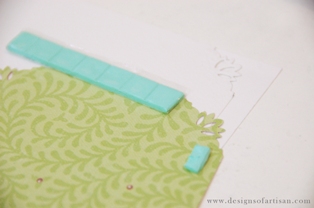
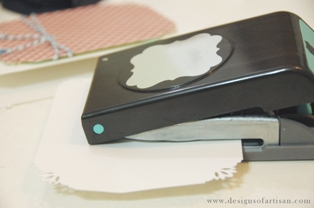
{6} Cut a french border in a white cardstock. And write the word "Thank You". Once your done, put adhesive foam at the back and center it on top of the patterned paper.
{7} Lastly, add a flower embellishment on the upper right side. Also put a rhinestone sticker on top of the flower to give a little more embellishment.

Now you're all ready to send out your handmade thank you cards to your friends and loved ones!
Let's Make Greeting Cards Homepage


