[?]Subscribe To This Site


Make a Birthday Card
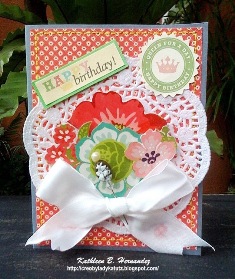
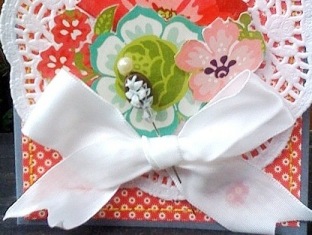
Make a birthday card with this gorgeous homemade birthday card idea by DT Member Kathleen! You'll soon discover how fun and easy making birthday cards can be! :)
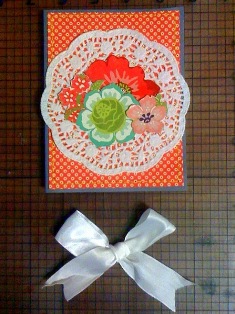
"Queen for A Day" Birthday Card
By Kathleen Hernandez
Most of us on our birthday would want a party or just plain have an intimate meal with loved ones. Have you ever wished that you could at most be treated like a “Queen” even just for your birthday? I guess I went to the superlative with the word. But everyone would wish to be treated special on her day, right? This is the concept by which this homemade birthday card was created, as the title of the card says: “Queen for a Day”.
Queen for a Day
Homemade Birthday Card
So for today, I'll be teaching you how to make a birthday card fit for a queen! :)
SUPPLIES:
- Gray Cardstock
- 8x8 Pattern Paper (October Afternoon’s Schoolhouse)
- Printed Digital Paper (Echo Park’s This & That Graceful digital kit)
- Digital Elements (Echo Park’s Birthday Girl digital kit)
- Small Doily
- Yellow Thread
- White Satin Ribbon
- Stick Pin
- Craft Mat
- Craft Scissors
- Decorative Scissors (zigzag / pinking scissors)
- Needle
- Craft Pick (Tim Holtz’ Tonic Studios)
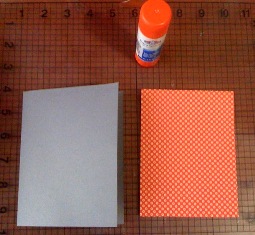
- Prepare a 5x7 cardstock trimmed to size.
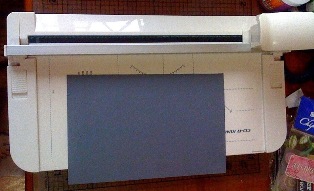
- Trim your pattern paper slightly smaller than the size of your cardbase.
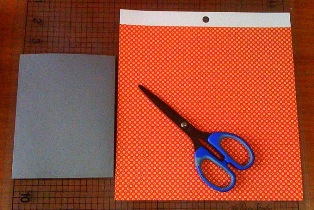
- Adhere your trimmed pattern paper on your cardbase.
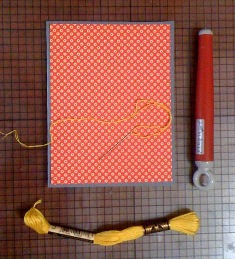
- Prepare your needle, thread and Craft Pick. Stitch around the edges of your pattern paper with your yellow thread.
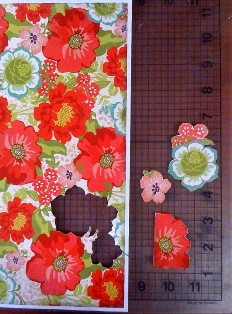
- Print your digital floral paper. Fussy cut (3) flowers from the floral paper.
- Prepare doily, fussy cut flowers and your card.
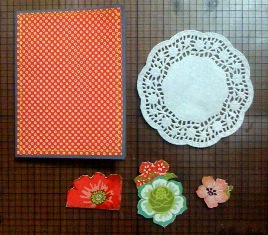
- Adhere doily on center of your card. Pop up your fussy cut flowers on the center of your adhered doily.
- With your white satin ribbon, form a bow. Glue down bow just below your popped up flowers.
- Print your digital elements or sentiments.
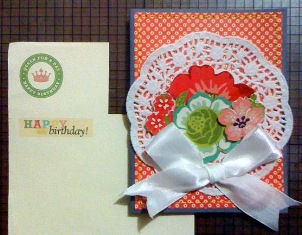
- Mat your “Happy Birthday” printed digital element. Cut your circle sentiment with your zigzag decorative scissors.
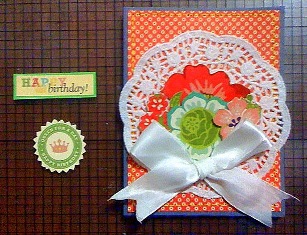
- Pop up your printed digital sentiments on your card, right above your flowers.
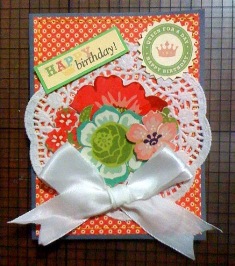
- As finishing touch, add a vintage stick pin to your ribbon.
If you decided to use this instructions to make a birthday card, I guarantee your friend or loved one will love it! Hope you had fun! Don't forget to visit our main birthday cards page for more ideas to make a birthday card! :)
More Birthday Card Ideas
Let's Make Greeting Cards Homepage