Making Homemade Cards
Interested in learning the art of making homemade cards? We've got it all covered in this site! Learn the basics of making greeting cards and make every occasion more special with a card made with love. On this page, DT Member Christy will share how to make a fun and unique summer card that you'll surely love!
It's Summer Card
Hi! I'm Christy and making homemade cards is one of my favorite activities is the world! Today, I'll teach you how to make a fun summer card with a unique twist - a viewfinder! It'll be so much fun so let's get to it!

MATERIALS NEEDED:
- 6” x 6” light green cardstock for card base
- 5 ¾” x 5 ¾” black cardstock
- 5 3/8” x 5 3/8” patterned strawberry paper
- 5” x 5” black cardstock
- 4 ¾” x 4 ¾” pink cardstock
- Spellbinders Nestabilities Standard Circles (LG) using the largest circle & the 2nd smallest circle
- Sizzix machine or Grand Calibur
- White cardstock
- White printer paper
- 4” x 4” patterned strawberry paper
- 4-6 small stamps of your choice
- 19” of red with pink polka dots ribbon cut into two pieces; one 7” and the other 12”
- 3 stick pins
- Hole puncher
- Foam dots
- Zots
- Decorative brad
- Tombow adhesive
- StazOn ink Jet Black
- Pink, green, green, purple, red ink colors or colors of your choice
- Thickers letter stickers
- 1” hole punch
INSTRUCTIONS:
Making homemade cards always starts with preparing your card base. Cut 6” x 12” light green cardstock and score in middle at 6” to make card base.
Cut two pieces of black cardstock at 5” x 5” & 5 ¾” x 5 ¾”
Cut two pieces of strawberry patterned paper at 4” x 4” & 5 3/8” x 5 3/8”.
Cut pink cardstock 4 ¾” x 4 ¾”.
Take piece of white cardstock and white printer paper and run through Sizzix Machine or Grand Calibur Machine and cut the large circle from the Standard Circle (LG) set #S4-114.

Set aside the white cardstock.
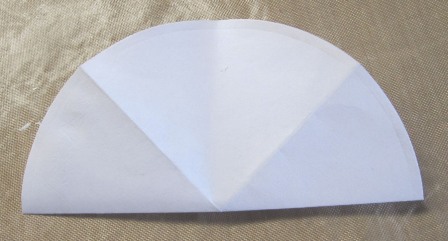
Fold over the printer paper in half once and crease well. Fold over again in half and crease well.
 |
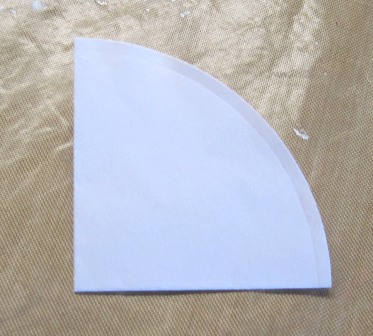 |
Unfold and repeat folding the other way in half and in half again; you want to have 1/8 pieces like a pie when you are completed with all the folding and creasing.
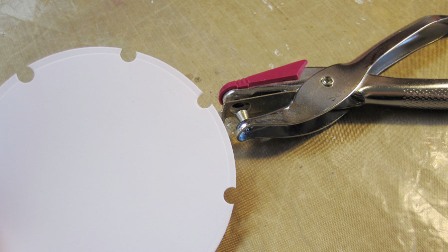
Take small hole punch and begin to punch holes at each line at its fold.
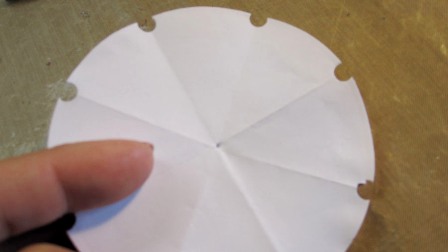
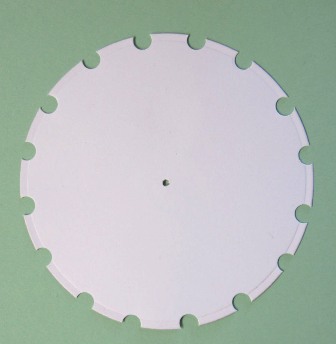
Then take the white cardstock circle and hold it evenly to the printer paper. Using the printer paper as a guide punch the holes into the white cardstock.
Take paper piercer and pierce hole in center of hole.
Take the 4” x 4” piece of patterned paper and on the left hand side in the middle punch a half circle.
Then take the Spellbinders die #S4-114 and use the 2nd smallest circle and by lining up the white cardstock center, cut a hole. Also paper pierce the center lining up with white cardstock.
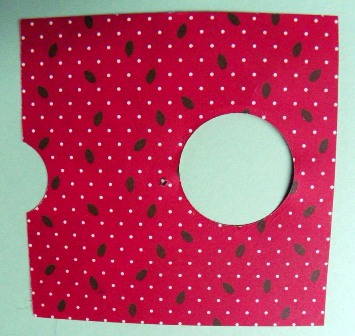
Take the white cardstock that is now notched and attach it behind the patterned paper.
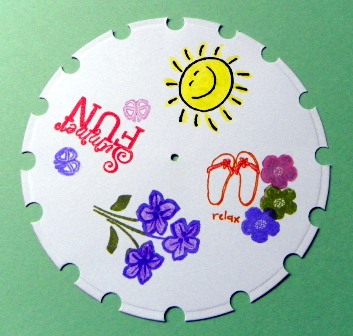
Take 4 – 6 different small stamps and stamp the images through the circle on the left. Stamps, whether clear, rubber, cling or foam, are perfect for making homemade cards as you can get really creative with them!
When stamping be sure to stamp every 90 degrees; meaning when you stamp once rotate the white cardstock 90 degrees clockwise so that there will be 4 stamped images when you turn the card. Also consider the orientation of your card so your stamped images won't end up upside down when you view them using the viewfinder.
Color your images as desired.
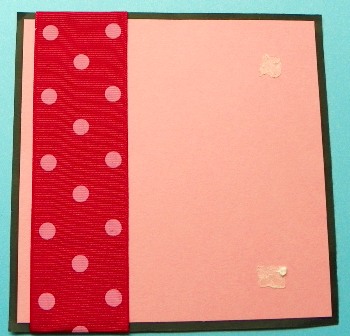
Adhere the pink cardstock onto the 5” x 5” black cardstock.
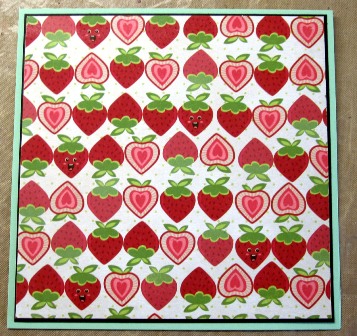
Adhere the 5 ¾” x 5 ¾” black cardstock to the light green card base and adhere the strawberry patterned paper to the black cardstock.
Take the red and pink polka dotted 7” piece of ribbon and adhere to the left side of the pink & black cardstock.
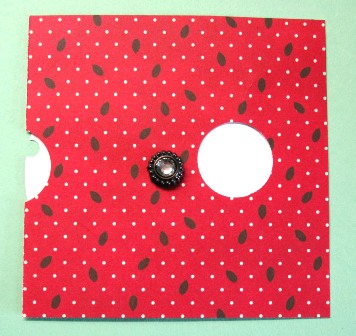
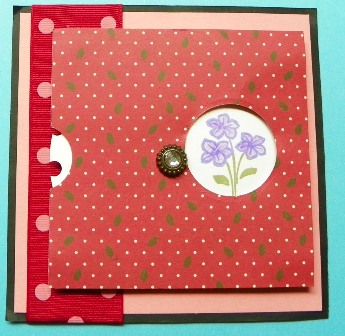
Take brad and attach white stamped cardstock behind the patterned paper.
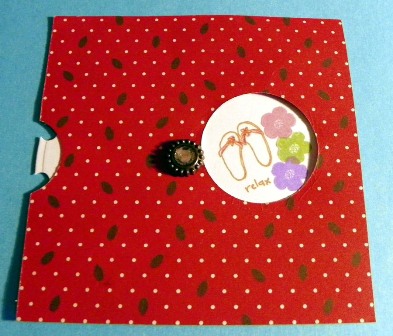
Adhere the pink & black cardstock onto the patterned paper.
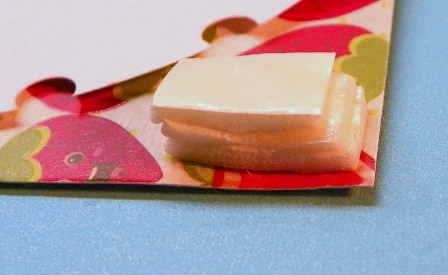
Using three thicknesses of foam tape, adhere the spin dial onto the pink cardstock making sure not to put adhesive too close to the dial so that it will spin freely.
 |
 |
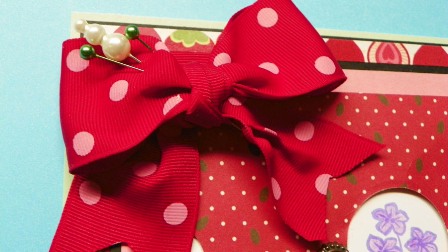
Using 12” of the ribbon create a bow.
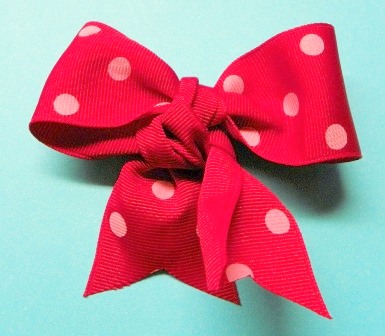
Using Zots adhere the bow to the top left corner of the card and put in the three stick pins as desired.
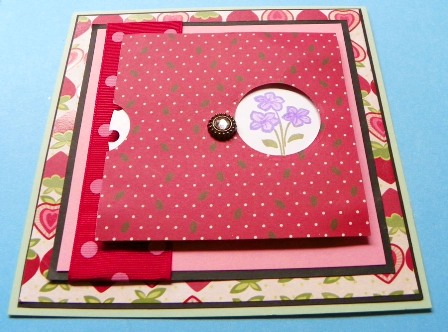
For a final touch, spell out “It’s Summer” using letter stickers. And that's done! See? Making homemade cards is a lot of fun! I hope you enjoyed my tutorial! Before I leave you, here's our final card again.
Oh and do check out other fun and gorgeous card ideas for making homemade cards that the Design Team has come up with! :)
More Card Ideas for Making Homemade Cards
Let's Make Greeting Cards Homepage