A Mothers Day Card to Make
Looking for ideas for a Mothers Day card to make? On this page, our Design Team member Ruth will share her card and juicy details on how she made it!
A Mothers Day Card
By DT Member Ruth Wu
Hi! I'm Ruth and today I'll be showing you how to make this easy Mother's Day card!
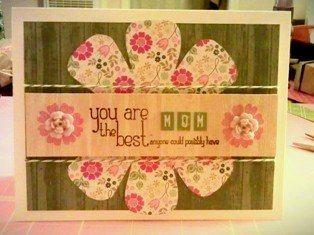
A beautiful Mothers Day Card to make
All my cards are made an A2 (1/4 page) size. This is one of the easiest sizes to find an envelope for. Measurements are 4.25 by 5.5. To do this, simply start with an 8.5 by 11 cardstock. Cut in half and fold in half an voila! You have your base card.
This is a really fun Mothers Day card to make so take out your tools and supplies and let's get started! :)
Supplies used:
- Miss Caroline – dolled up – 6x6 designer paper pad
- Miss Caroline – dolled up – favorite stamps
- Simple Stories – 100 Days of Summer – Expressions cardstock stickers
- Recollections – Boutique Fleur- Floral Embellishments 20pc
- Color Box – pigment archival pink (ink)
- Color Box – limited edition – pigment archival espresso (ink)
- Green twine
Assembly:
I start off with selecting your coordinating papers. I like to use papers from the same line so that the colors match and coordinate easily. For this project, I decided to use Miss Caroline- 6x6 designer paper pad from My Mind’s Eye and the coordinating stamps from the same line.
I like to start with a base that is somewhat neutral. For this Mothers Day card to make, I selected the blue woodgrain paper. Woodgrain seems to be all the rage nowadays (seen it in a lot of cards lately.)
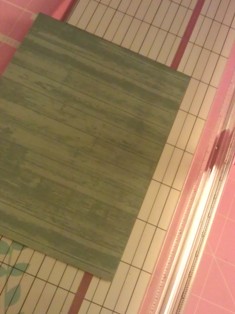
Then I cut the blue base slightly smaller than the card.
Tip: The easiest way to do this is to lay the card out on the paper, trace around and cut. Then I use my paper trimmer to trim off the sides. The final measurements are 5x3.75.
Now on to the “flower” in the middle of the card. Have you heard of “Kiwi Lane Designs”? I discovered them at last year’s scrapbook expo and it has changed my life! They offer templates that are easy to trace and cut. Makes life so much simpler! And I am all about simplifying. For this card, I used the templates from their “wildflower” line.
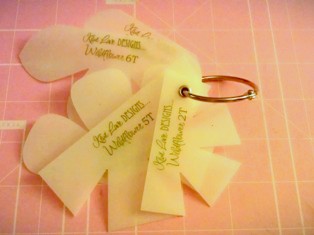
Since my blue base is semi neutral, we can go a little fun for the flower. I selected a floral patterned paper from the same pad. From the picture you can see that the flowers are “half” flowers, I traced the bottom half, flipped it up and traced the top. Cut! And there you have it. A flower with space in the middle for your sentiment.
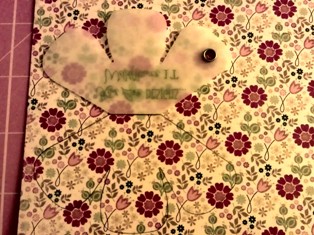
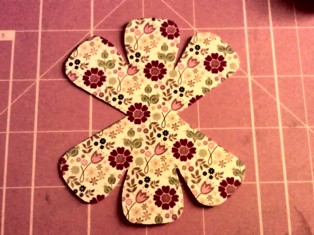
Set that aside and now we can work on stamping the sentiment. I don’t have any “mother’s day” dedicated stamp sets but I found that you can substitute some “friend” stamps with the word “mom” and that would work perfectly too. Such a money-saving tip don’t you think?
So here is what I did. I selected a stamp from the Miss Caroline line that said “You are the best friend anyone could possibly have.” I knew that instead of the Friend, I wanted it to say Mom. Here is a quick solution – mask out the word "Friend". Sounds trickier than it really is.
Here is what I did – I simply took a post-it, cut a rectangle big enough to “mask” out the word friend...
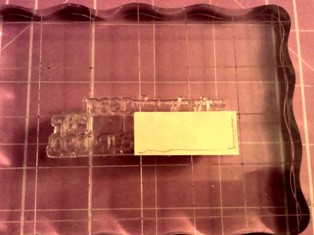
...inked my stamp...
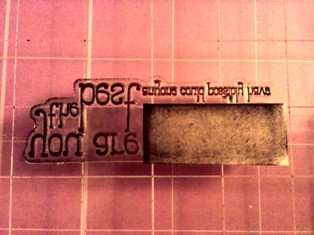
...removed the post-it and there you have it!
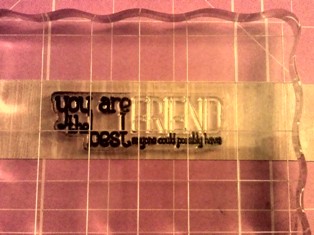
All the words except “friend” are inked.
Once the post-it has been removed, go ahead and stamp your sentiment. I decided that a neutral yellow paper would be good to stamp the sentiment on.
Trim the yellow paper so that it is now the same length of the blue base. Lay everything out to see how much empty space you have to play around with.
Tip: I normally don’t stick anything down till I finalize how I want everything to look. I like to lay everything out first. Kind of a commitment-phobe I guess LOL.
Below you can see how I laid the sentiment out and decided oh wow! I have space to stamp a flower before and after the sentiment.
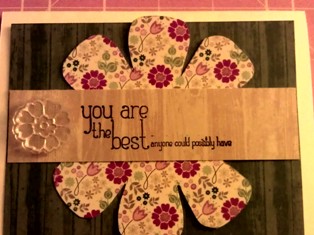
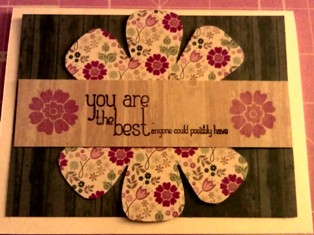
Note: At this point, nothing is stuck down yet. I am just laying everything out.
Now comes the fun part, selecting what letter-stickers to use for the word “MOM” on this Mothers Day card to make. In my arsenal of embellishments and stuff, I have a variety of alphabet stickers in different sizes. Another trend that I have started seeing more now is the “typewriter-ish” font. Gives the card a nice modern look. So that’s exactly what I decided to use.
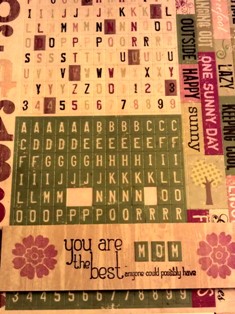
I selected the stickers from the “100 Days of Summer” line of Simple Stories. I decided I wanted more “pop” so I decided to add a flower on top of my flower. Dug through my stash and found these pretty roses. I don’t remember where I got these roses but they really make a difference on this Mothers Day card to make. Taking that card up a notch.
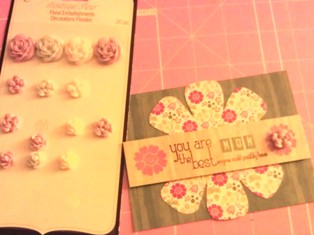
Once both roses have been stuck on. I do a final layout of everything – take a deep breath – pull out the tape runner and I am ready to commit.
Lets talk about adhesives for a minute. This tape runner (pictured bottom left) is my favorite. It is from Tombo – craft collection. I stock up on these refills like wrapping paper at the post-Christmas sale (am I the only one who does that?) Another favorite of mine is the foam pop-up tape (pictured right) I think I use both these adhesives in all my projects. Both products can be found in almost every craft store.
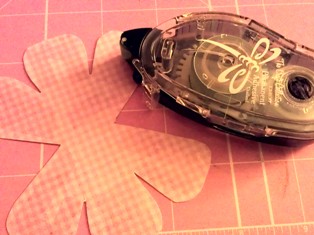
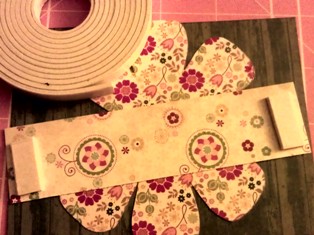
We are almost there folks! Stick stick stick. And here we have it! After sticking everything down, I still felt like something was missing. Ahhhh twine. So here goes some twine to give it that extra texture.
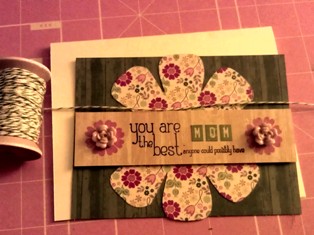
I decided that maybe two straight lines of twine would be sufficient. A ribbon/bow did was not necessary so I kept it simple. A line on top, a line on the bottom. Stick it to the back and we are done!

Was that fun or what? Thanks for joining me and I hope you enjoyed my tutorial! Do visit our main page on Mothers Day Cards to see another Mothers Day card to make or craft in the comforts of your home.
Back from this Mothers Day card to make
to Let's Make Greeting Cards Homepage


